Showing posts with label Christmas. Show all posts

Monday, November 18, 2019

How to Make Holiday Individual Turkey Pot Pie


Disclaimer: This post was sponsored by Better Than Bouillon as part of an Influencer Activation for Influence Central and all opinions expressed in my post are my own.  For more recipes and inspirations, please visit: http://goic.io/GpuqMV


My family loves the holiday season when we get to gather around the dinner table to share our favorite dishes and recipes.  When I host holiday gatherings at my place, I always prepare a main dish while my family and friends would bring appetizers and side dishes to share.  It's always wonderful to share and create memories with my family through food!  If you can't tell by now, everyone in my family are foodies!  I guess you can say that the apples don't fall far from the tree!  This year, I'll be sharing these amazing Holiday Individual Turkey Pot Pies with my friends and family!


If you haven't done so, be sure to check out my video tutorial above.  This recipe is so much fun and so easy to make, yet its super festive and scrumptious!  Best of all, you can prepare them a day in advance.  Simply prepared the pies (without the egg wash), covered, and keep them in the fridge until ready to bake.  On the day of the party, simply brush the egg wash on the pastry and pop them in the oven before your guests arrive.  This way, you can join in and enjoy the party, too!  As much as I enjoy a holiday feast, I don't think anyone should, or wanted to, slave inside the kitchen for the holidays!  This recipe is a perfect solution for you if you are hosting a gathering for your friends and family this holiday season!  Think of how easy it will be for the upcoming Thanksgiving, Friendsgiving, Christmas, or New Years' parties!   


The flavors of these Holiday Turkey Pot Pies are so amazing that your guests would think that you've spent hours in the kitchen preparing them!  Thanks to the Better Than Bouillon Turkey Base, it adds a depth of flavor in the turkey pie fillings in a cinch.  It truly elevates and transforms the flavors of your ingredients.  You would feel like you're enjoying a traditional slow roasted turkey, but in a pie form, which is a lot more fun to eat than just a traditional roasted turkey (sorry Mr. Turkey!)  Rather than the traditional bouillon cube, the Better Than Bouillon Turkey Base is a paste, which makes it a lot easier to incorporate with the ingredients because you don't have to wait for the cube to dissolve.  The flavor is so concentrated that it won't dilute your sauce at all!  It's truly a flavor bomb, in my opinion!


I'd been using Better Than Bouillon for many years now and always have them on hand.  Besides the Turkey Base, my favorites are Roasted Beef Base and Roasted Chicken Base.  I make my family's favorite beef stew at least once a week and Better Than Bouillon Roasted Beef Base is the secret ingredient that make it tastes so amazing!  Better Than Bouillon Roasted Beef Base intensifies the beefy flavors in the stew without diluting the sauce.  I also use it create a soup base, to build flavor in my sauces, to make a quick beef au jus for roasted beef, and to create gravy with it as well.  Also, you can substitute the turkey meat in this recipe with chicken (and swap in the Roasted Chicken Base) to make chicken pot pies.  And I promise, they will be the best chicken pot pie you'll ever had!  They are so good that my kids always wonder if I ordered and pick up the Chicken Pot Pies from the restaurant!  There are so many different flavors of Better Than Bouillon to explore, such as the Seasoned Vegetable Base, Roasted Garlic Base (perfect for making garlic bread), and Mushroom Base, & etc. Be sure to grab a few on your next grocery run to take your holiday recipes to the next level and make your life a whole lot easier and flavorful!  You can use the product locator on the Better Than Bouillon site or order online to get those hard to find flavors as well! 

For more product information, please visit:


Back to these Holiday Individual Turkey Pot Pies!  Imagine buttery and flaky pie crust, fresh mixed vegetables, and tender turkey meat surrounded by creamy and velvety sauce that has a "cooked all day" flavors, thanks to the Better Than Bouillon Turkey Base. This decadent turkey pot pie is served with sweet and tart cranberry sauce for a contrast of flavors!  Each bit is simply heavenly!   You'll definitely be making this recipe again and again!  What are your family's holiday traditions?  Do you have a family's favorite recipe?  Have you tried Better Than Bouillon products before?  If so, which one is your favorite?  Be sure to leave a commend below and share with me.  Can't wait to hear from you!  Happy Holidays, from my kitchen to yours!


Please follow Better Than Bouillon on other Social Media:

For more recipes and inspirations, please visit: http://goic.io/GpuqMV

Better Than Bouillon Facebook: https://www.facebook.com/BetterThanBouillon/
Better Than Bouillon Instagram: https://www.instagram.com/betterthanbouillon/
Better Than Bouillon Twitter: https://twitter.com/btbouillon
Better Than Bouillon Pinterest: https://www.pinterest.com/BTBouillon/


#HolidaysWithBTB #BTBHolidayRecipes #IC #ad


Holiday Individual Turkey Pot Pie Recipe
Makes: 6 (8 ounces Pies)

4 tablespoons butter
1 yellow onion, diced
1 cup pumpkin (frozen, diced)
1 cup mixed vegetables (frozen)
4 cups roasted turkey (diced)
1 tablespoon sage (chiffonade)
1 teaspoon thyme
1/3 cup all-purpose flour (plus more for rolling puff pastry)
2 tablespoons Better Than Bouillon Turkey Base
2 cups turkey stock (low sodium)
3/4 cup heavy cream
2 sheets puff pastry (thawed)
1 egg yolk
1 tablespoon water
Cranberry Sauce (for serving)
Fresh Cranberries and Sage leaves (optional, for garnish)

Preheat the oven to 425°F.  In a large pot, melt butter over medium heat.  Stir in onions and cook until translucent, about 3 to 4 minutes.
Add in pumpkin, mixed vegetables, turkey, sage, and thyme.  Sprinkle the flour over the ingredients,  stir gently, and let the flour cook for 1 minute.  Add in the Better Than Bouillon Turkey Base and turkey stock.  Let the sauce cook until thickened, about 3 minutes.  Remove from heat and stir in the heavy cream.  Let the fillings cool off slight while you prepare the puff pastry.

Gently roll out the seams of the puff pastry on a lightly flour-dusted surface.  Place your ramekins up-side-down on the pastry as a guide.  Cut out 3 pastry per puff pastry sheet.  Repeat with the remaining puff pastry sheet.

Evenly divide the turkey fillings into the 6 ramekins.  Top each one with a cut out puff pastry.  Place the filled ramekins onto a foil lined baking sheet.  Whisk the egg yolk and water to create an egg wash.  Brush a think layer of egg wash onto each puff pastry.

Bake for 22 to 25 minutes, or until the puff pastry is golden brown and cooked through.

Let cool slightly before serving.  Be very careful, fillings is extremely hot.  Garnish with cranberry and sage (if using.)  Serve these Holiday Turkey Pot Pies with cranberry sauce and enjoy!


Friday, December 15, 2017

How to Make Popovers with Herb Butter (Foolproof Recipe)


Are you ready for the holidays?  My kids are almost out of school for their Winter Break and we’re already getting excited for the time off.   I personally can’t wait to hang out and spend time with the family.  We’ll have relatives visiting from overseas and everyone in the family is looking forward to that as well.  How about you?  What are your plans for the holidays?  Leave me a comment below and let me know.

How to Make Popovers with Herb Butter (Fail Proof Recipe)  http://uTry.it

For our holiday meals, my family prefer Prime Ribs over poultry or pork.  This past Thanksgiving, I even spared Mr. Turkey and made a Prime Rib Roast instead.  Besides all sorts of roasted vegetables, I also made these Popovers with Herb Butter as a side dish.  Everyone enjoyed them so much.  They are quite similar to Yorkshire pudding, which its batter consists of  eggs, flour, milk, etc.  I guess you can call these individual Yorkshire puddings?  But the traditional Yorkshire pudding often consists the roast beef’s dripping in the batter while these Popovers don’t.  However, these Popovers still packed with wonderful flavors and aromas from herbs and butter in the batter (and on the side).

How to Make Popovers with Herb Butter (Fail Proof Recipe)  http://uTry.it

These Popovers are simply amazing.  The crust is golden brown and crispy while the inside is fluffy and airy.  It’s heavenly when you serve them warm with a dab of Herb Butter.  Check out my video tutorial for tips and tricks on how to prepare both!  These popovers are pretty much fail proof if you follow my tips.  Your family will definitely love them and be prepare that they’ll ask for seconds.  My recipe makes exactly 12 popovers.  I’ll list the popover pans and other tools that I used at the end of the post for your convenience.  

How to Make Popovers with Herb Butter (Fail Proof Recipe)  http://uTry.it

When I made these popovers again to take pictures and videos, my Kids were so excited and couldn’t wait any longer (see the little hand in the picture above)?!  Yes, these Popovers are truly irresistible!  


How to Make Popovers with Herb Butter (Fail Proof Recipe)  http://uTry.it

Instead of making the traditional dinner rolls, I highly recommend that you try out this Popover with Herb Butter recipe.  You and your tummy will be glad that you did!  Thank you so much for stopping by today.  Stay tuned for more holiday recipe next week!

Tools and Ingredients Used:Popover Pan (Click here for more information)
Baking Sheets (Click here for more information)
Kerrygold Butter (Click here for more information)
Stand Mixer (Click here for more information)
Kitchen Scissors (Click here for more information)
Measuring Cups with Beaker (
Click here for more information)
Whisk (Click here for more information)
Cooling Racks (Click here for more information)


Disclosure: uTry.it is a participant in the Amazon Services LLC Associates Program, an affiliate advertising program designed to provide a means for sites to earn advertising fees by advertising and linking to Amazon.com.


Friday, December 1, 2017

How to create a 3D Winter Wonderland - Classic Sugar Cookies with Royal Icing


Are you ready for the holiday baking season?  Traditionally, I have always been busy baking goodies for friends and family during the holidays!  What are your favorite things to share around the holidays?  This year, I have created these whimsical 3D Winter Wonderland Sugar Cookies.  Be sure to check out the tutorial above on how I make them.

How to create a 3D Winter Wonderland -  Classic Sugar Cookies with Royal Icing    http://uTry.it

These 3D cookies are made out of Classic Sugar Cookies and decorated with Royal Icing.  Not only these cookies are crispy (with a hint of butter and vanilla), they are also more sturdy and can hold up to the decorations better than other kind of cookies.   According to my Little Girl, these cookies are perfect for dunking in a cup of hot cocoa! Does she talk like a foodie or what?!  In addition to these Classic Sugar Cookies, I also made a variation of a chocolate flavored ones.

How to create a 3D Winter Wonderland -  Classic Sugar Cookies with Royal Icing    http://uTry.it


In this 3D Winter Wonderland, you will find Christmas Tree, Snowman, Reindeer and Santa’s Sleigh that are all made of cookies.  As shown in the video above, they are cut from from a 3D cookie cutter set that I bought online from awhile ago. 

How to create a 3D Winter Wonderland -  Classic Sugar Cookies with Royal Icing    http://uTry.it


How to create a 3D Winter Wonderland -  Classic Sugar Cookies with Royal Icing    http://uTry.it

In addition to Snowman and Christmas Trees, I also created a few gift box/present cookies to place in front of the Christmas Tree!  We’ve got to have some presents for the holidays, right?  The great news is that you don’t need a cookie cutter to make these gift boxes.  Check out my video tutorial and I’ll show you step by step on how to make them.  They are easier to make than they look, and they are super delicious with a layer of chocolate sugar cookie stacked in the middle! 

How to create a 3D Winter Wonderland -  Classic Sugar Cookies with Royal Icing    http://uTry.it

How to create a 3D Winter Wonderland -  Classic Sugar Cookies with Royal Icing    http://uTry.it


How to create a 3D Winter Wonderland -  Classic Sugar Cookies with Royal Icing    http://uTry.it

How to create a 3D Winter Wonderland -  Classic Sugar Cookies with Royal Icing    http://uTry.it

So, which one is your favorite?  I personally love the present/gift box and the Santa’s Sleigh cookies the best.  Best of all, just a few simple sprinkles and icing can transform these ordinary sugar cookies into something so amazing!  I hope you’ll give this recipe a try and make them for your family and loved ones.  My kids and I had so much fun decorating these cookies together.  They could be a fun holiday activities with your kiddos as well.  Stay tuned for more fun and festive holiday recipes!

How to create a 3D Winter Wonderland -  Classic Sugar Cookies with Royal Icing    http://uTry.it


Tools and Ingredients Used:
3D Christmas Cookie Cutter Set (Click here for more information)
Natural Food Coloring (Click here for more information)
Meringue Powder (Click here for more information)
Valrhona Unsweetened Cocoa Powder (
Click here for more information)
Silver Dragee (
Click here for more information)
Fall Color Sprinkle Pearls (
Click here for more information)
Christmas Sprinkle (
Click here for more information)
Star Shape Sprinkle (
Click here for more information)
Organic Vanilla Extract (
Click here for more information)
Kerrygold Butter (
Click here for more information)
Organic All-Purpose Flour (
Click here for more information)
Rolling Pin with Adjustable rings (
Click here for more information)
Pizza Roller (
Click here for more information)
Cooling Racks (
Click here for more information)
Rolling Mat (
Click here for more information)
Food Decorating Tongs/Tweezers (
Click here for more information)
Measuring Cup Set (
Click here for more information)
Stand Mixer (
Click here for more information)
Silpat (
Click here for more information)
Baking Sheets (
Click here for more information)


Disclosure: uTry.it is a participant in the Amazon Services LLC Associates Program, an affiliate advertising program designed to provide a means for sites to earn advertising fees by advertising and linking to Amazon.com.


Tuesday, November 21, 2017

Holiday Gift Guide For Foodies


Have you started your Holiday shopping yet?  Honestly, I do most of my shopping online these days.  After all, circling around the shopping mall parking lot looking for a parking spot and lining up long queues at the cashiers aren’t exactly my favorite things to do around the holidays!  I would rather spend the time with my family or bake up a batch of holiday cookies like these and enjoy a cup of hot cocoa!  If you love shopping online like I do, I have a few wonderful picks for you to surprise the foodies in your life (or if you want to treat yourself to a wonderful gift this holiday)!  Just a quick note, I do own most of the products that I listed here and love their quality.  These products either make my life easier, or they’re just simply cool!  For your convenience, simply click on the title or the image and it'll take you to the product page.    

1) Joseph Joseph Adjustable Rolling Pin
Perfect for the OCD baker in your life who wants everything perfect and in precision!  After all, it’s much nicer if your sugar cookies come out in even thickness than lop-sided!  I totally understand the frustration.


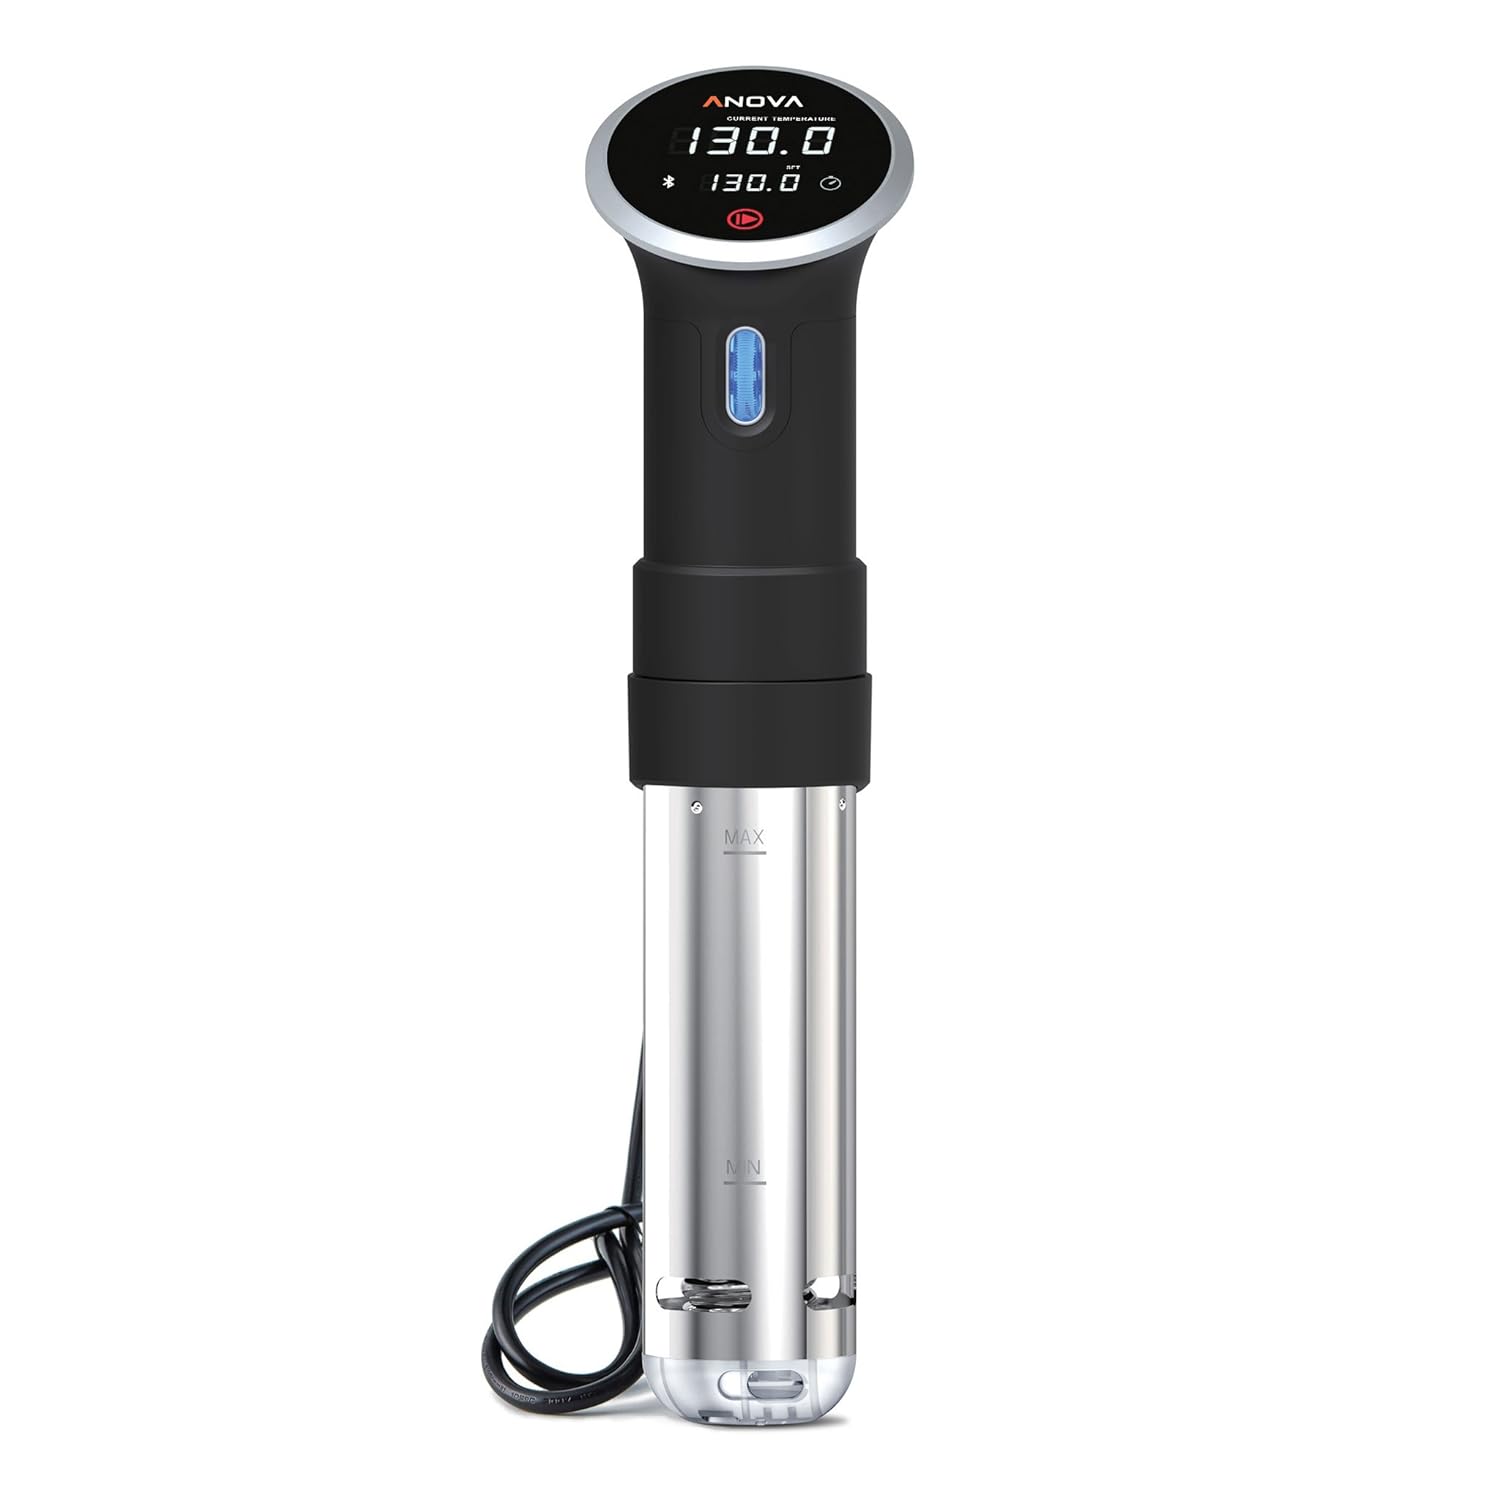
2) Anova Sous Vide Precision Cooker

It’s the latest trend for the home cook who is a restaurant chef “wanna be”!  Well, pretty much anyone who wants to produce restaurant quality food without paying the high price or dining out!  I got this as a birthday gift and totally love it!   After all, I think my brother knows me well!  I love that you can connect to the app on your phone to control the settings and browse for hundreds of recipes that go along with it! 


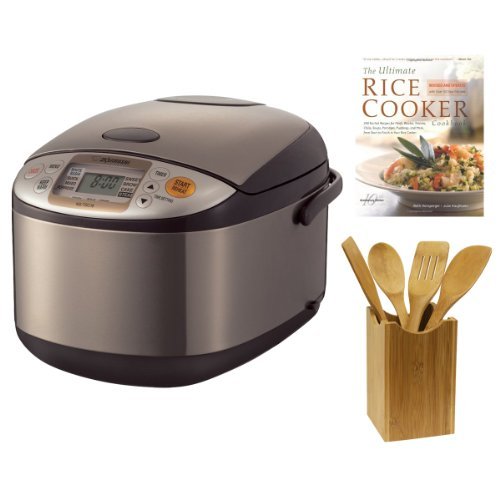
For the foodie who owns every single piece of small appliances in the kitchen!  This is a wonderful gift for the Asian cuisines lovers!  I use it almost every single day.  You can program it to cook regular rice, brown rice, sushi rice, mixed rice, porridge, etc.  Never have to burn another pot of rice on the stove or wash up the sticky pot!  The bowl of this rice cooker is super non-stick!  Perfect for someone who loves rice but hate washing dishes!

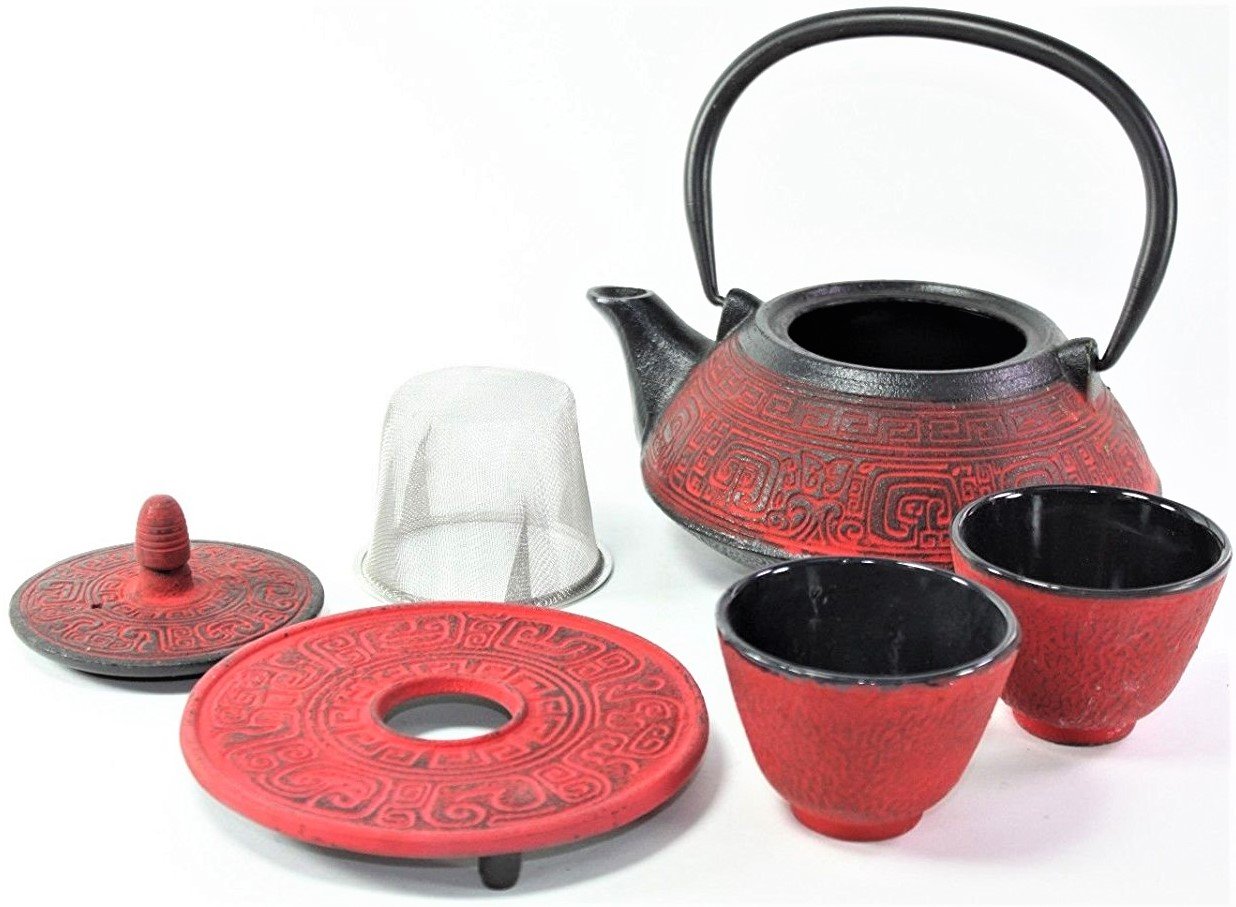
This stylish and unique Cast Iron Teapot set is perfect for the clumsy tea lover!  I used to have many sets of ceramic and glass teapots and somehow, they don’t last long in my kitchen!  I have a cast iron teapot since my college year and I still use it until now!  Beside being unbreakable, I also love the heat retention of the cast iron. 


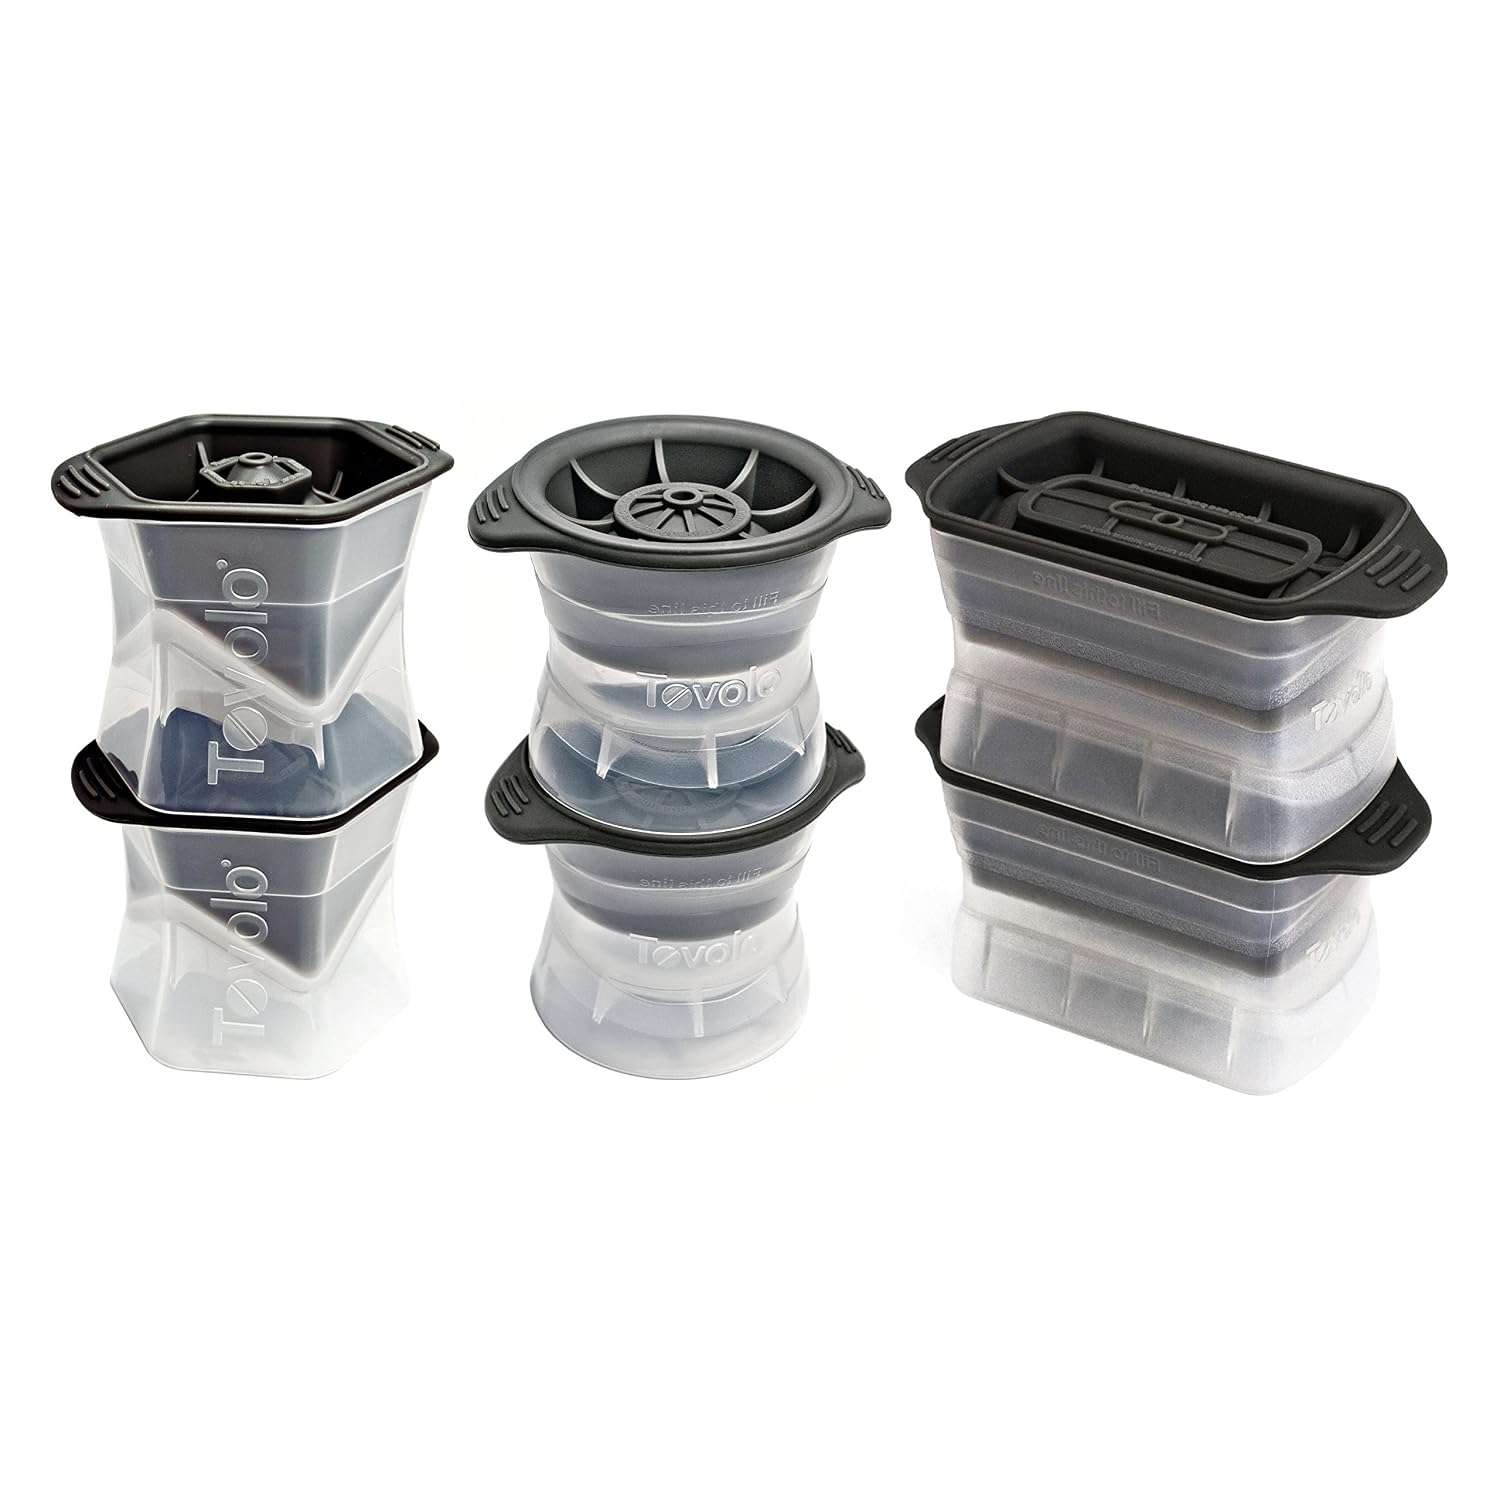
For the sophisticate whisky and cocktail sipper who like to keep their drinks perfectly chilled without diluting it too quickly, you’ve come to the right place.  I personally love these ice molds and use them all the time.  Check out this cocktail, it’s perfect for the holiday too!


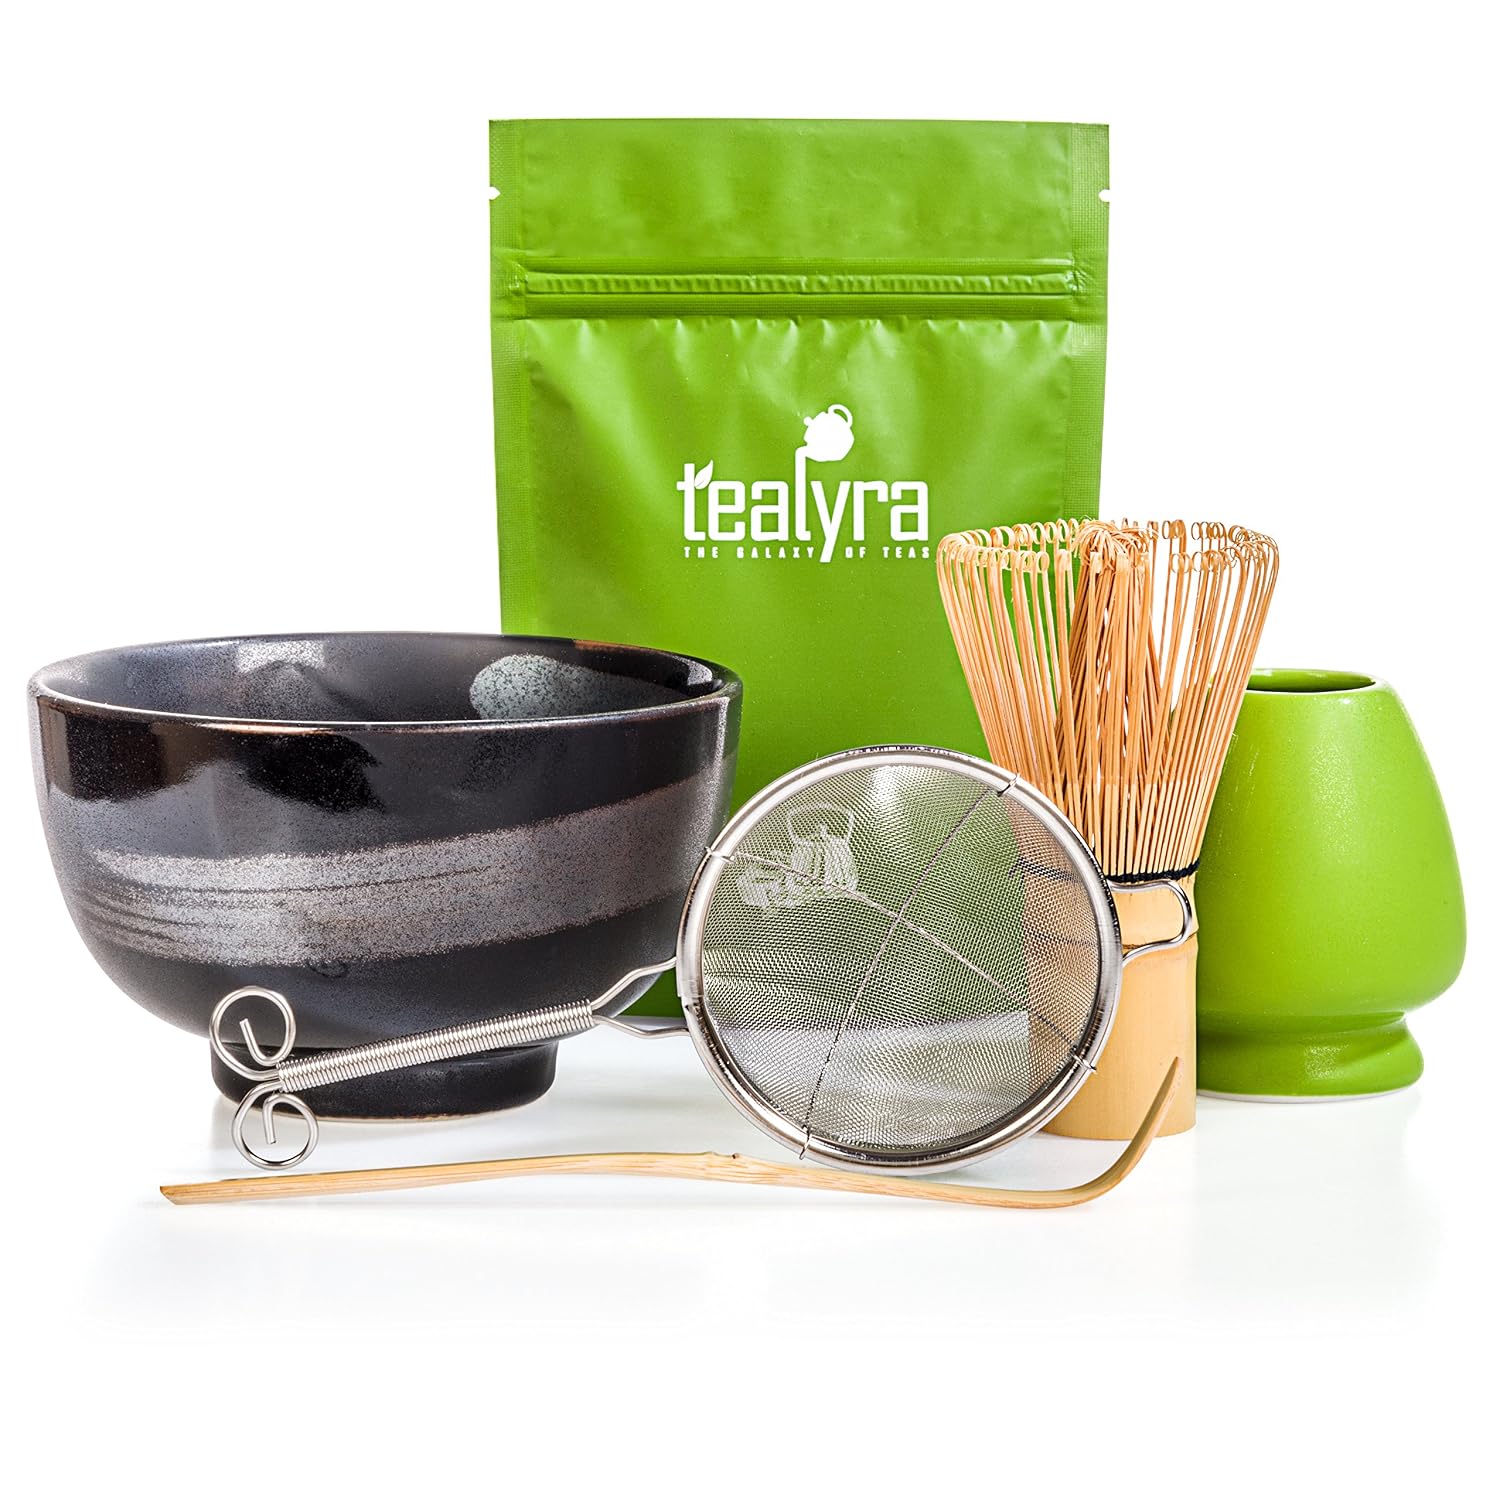
A fine gift for the adventurous foodies!  Take them to experience the Japanese tea ceremony without a plane ticket!  There are many benefit of drinking matcha green tea.  I found that the tea ceremony is very therapeutic as well. 


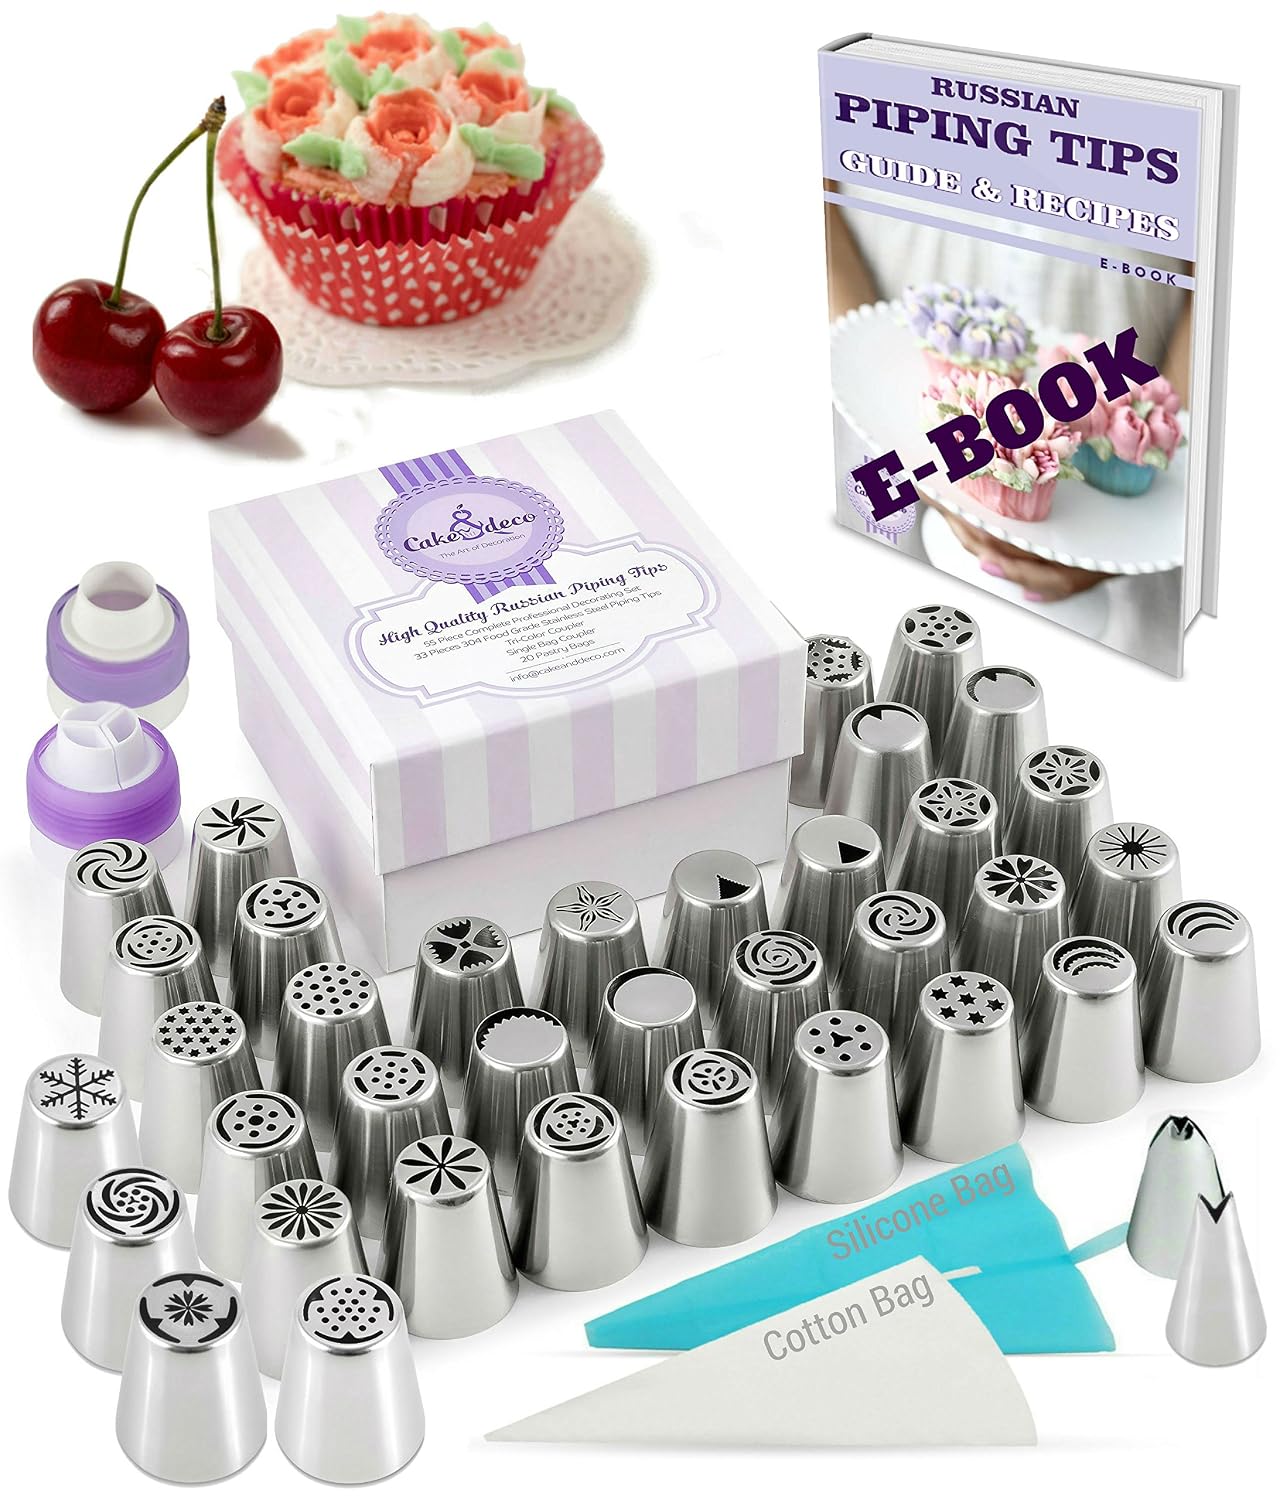
For the serious cupcake bakers who love taking their cupcakes to the next level but hate fondant decorations (a.k.a.: ME)!  This complete Russian Piping Tips Set has everything you need, and then some.  I’ve tried a few of these piping tips and totally love them.  So easy to use and the result are gorgeous.  You can check out my recipe and tutorial here: Chocolate Cupcakes with Swiss Meringue Buttercream Flowers


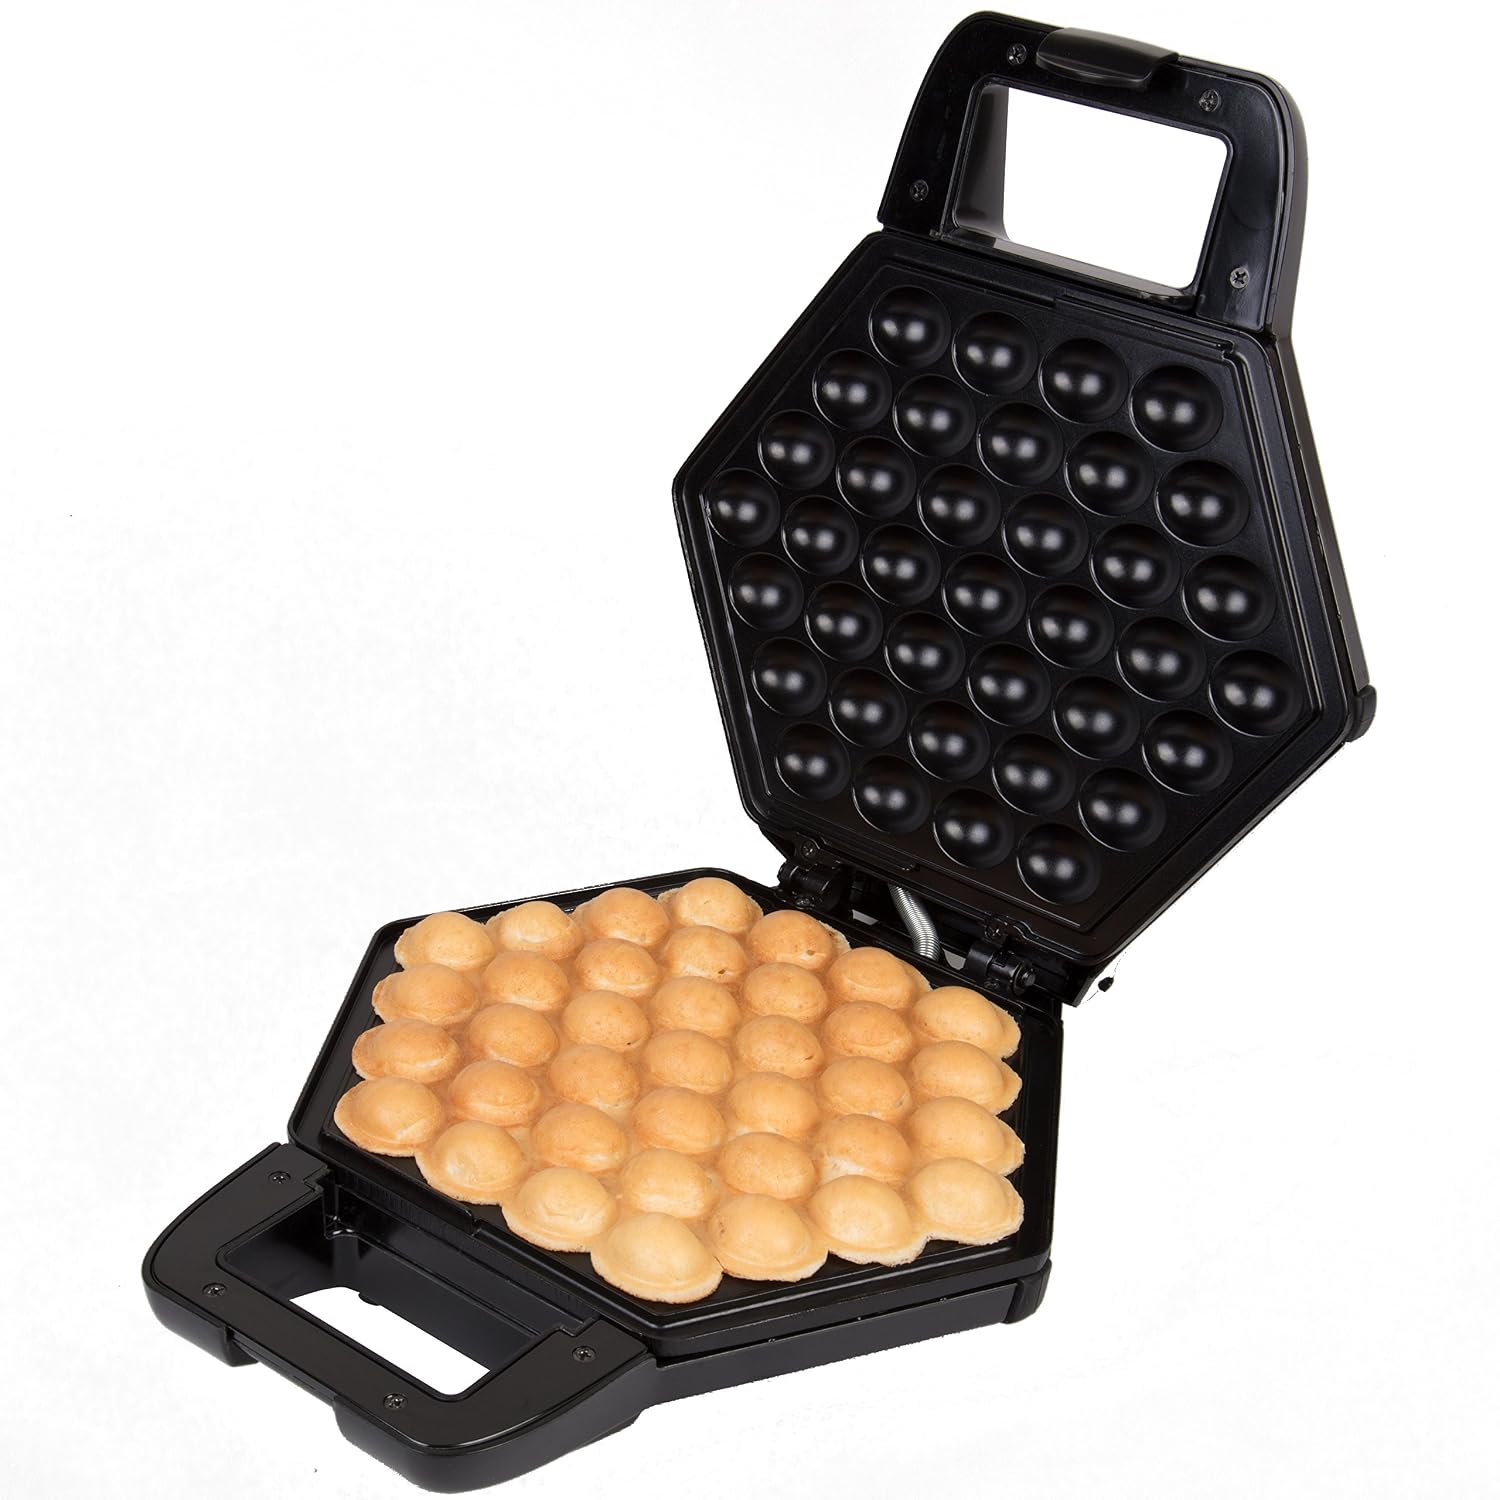
These Bubble Waffle are one of the latest trend on snacks!  You can serve them as is, turn them into a cone for ice cream, or break them apart and add to other desserts.  No matter how you serve them, they are fun to eat and very delicious.  Plus, who needs boring regular shaped waffles when you can eat Bubble waffles? Check out my recipes here: Chocolate Bubble Waffle Cone Ice Cream and Classic Hong Kong Bubble Waffle 


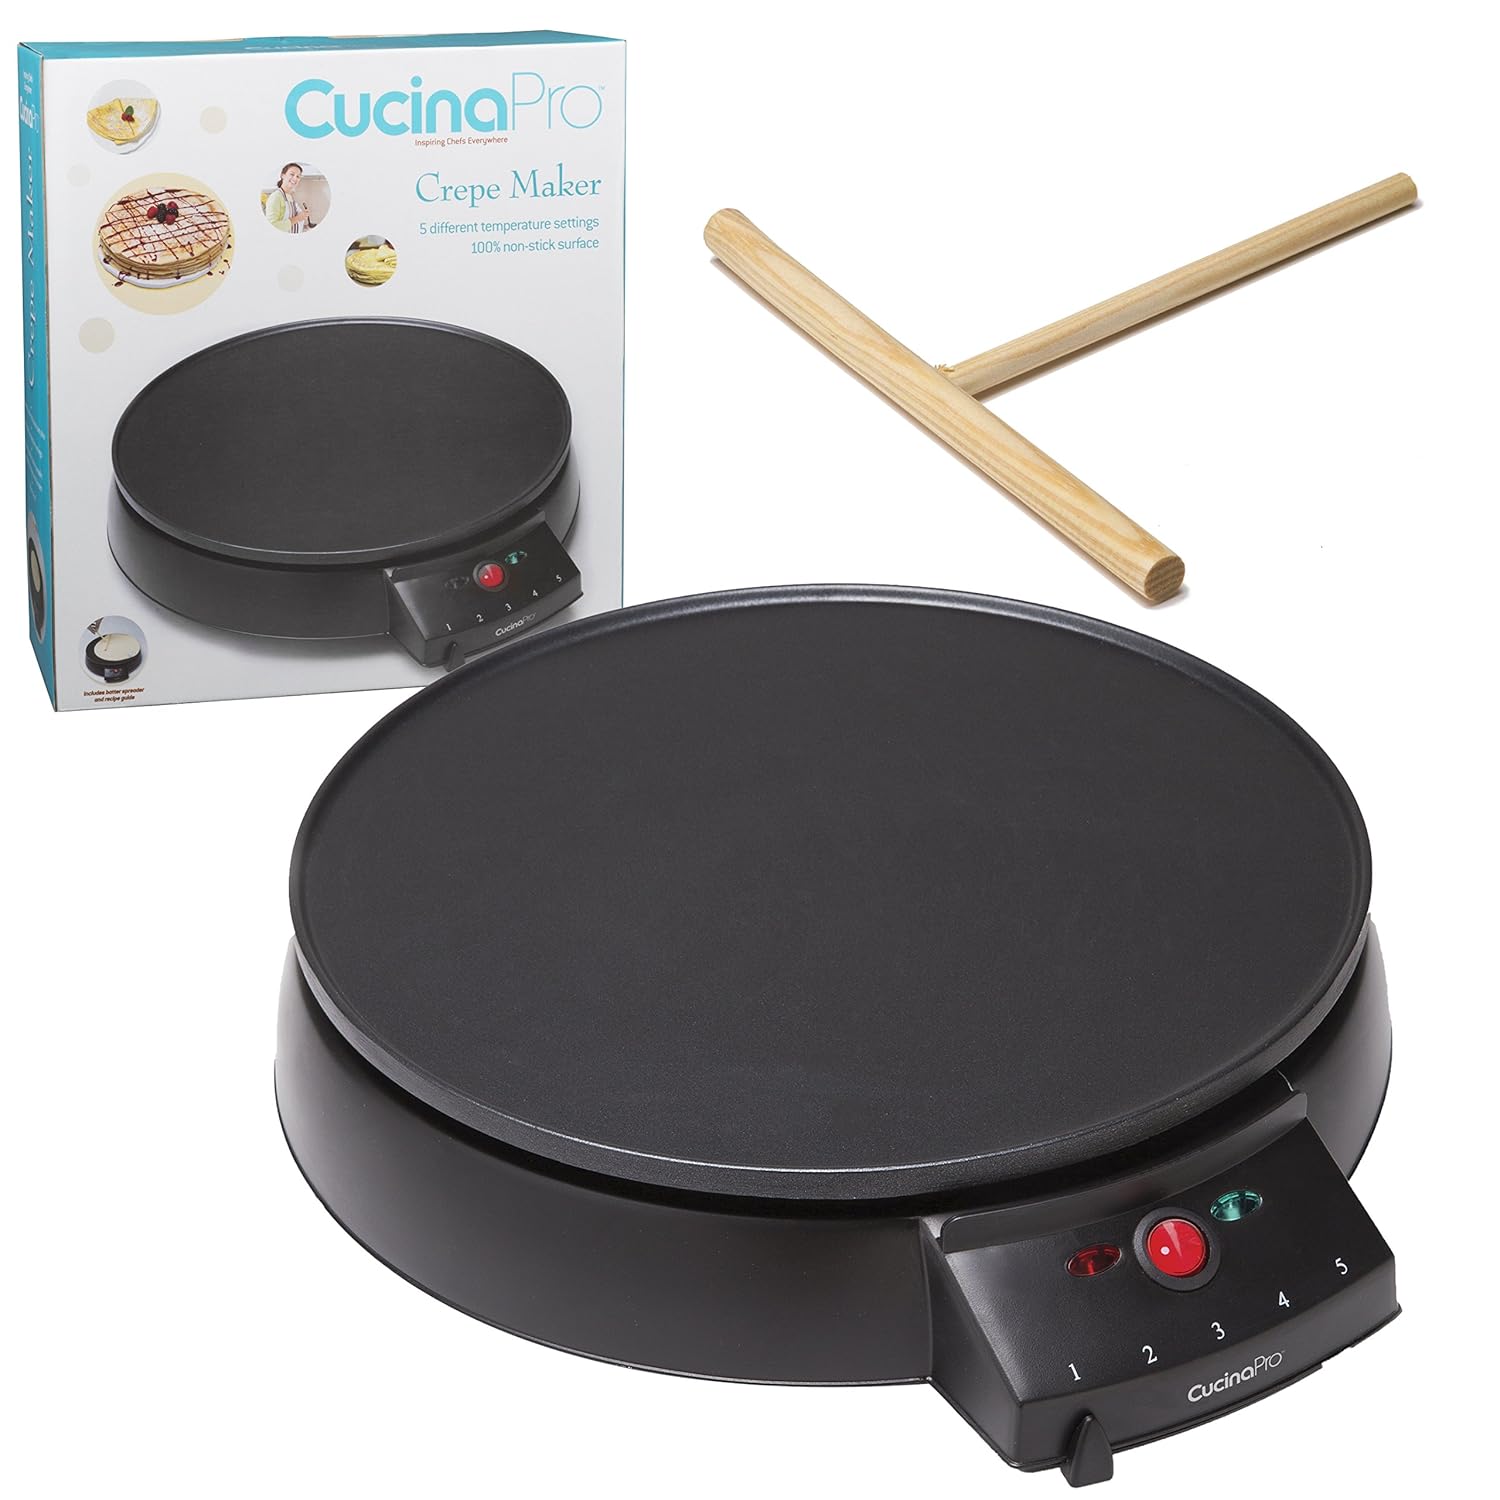
French Mille Crepe Cakes are the most gorgeous and most fascinating (probably most time consuming too) cake trend in the baking world.  That’s why the infamous crepe cake bakery can sell their cake at almost USD$100 and people still line up for it!  I like to make my own as I can control the flavor and ingredients that I use.  With this Crepe Maker, it’ll make the whole process much easier!  Check out my Mille Crepe Cake creations here: Unicorn Rainbow Mille Crepe Cake, Mango Mille Crepe Cake, and Vanilla Mille Crepe Cake


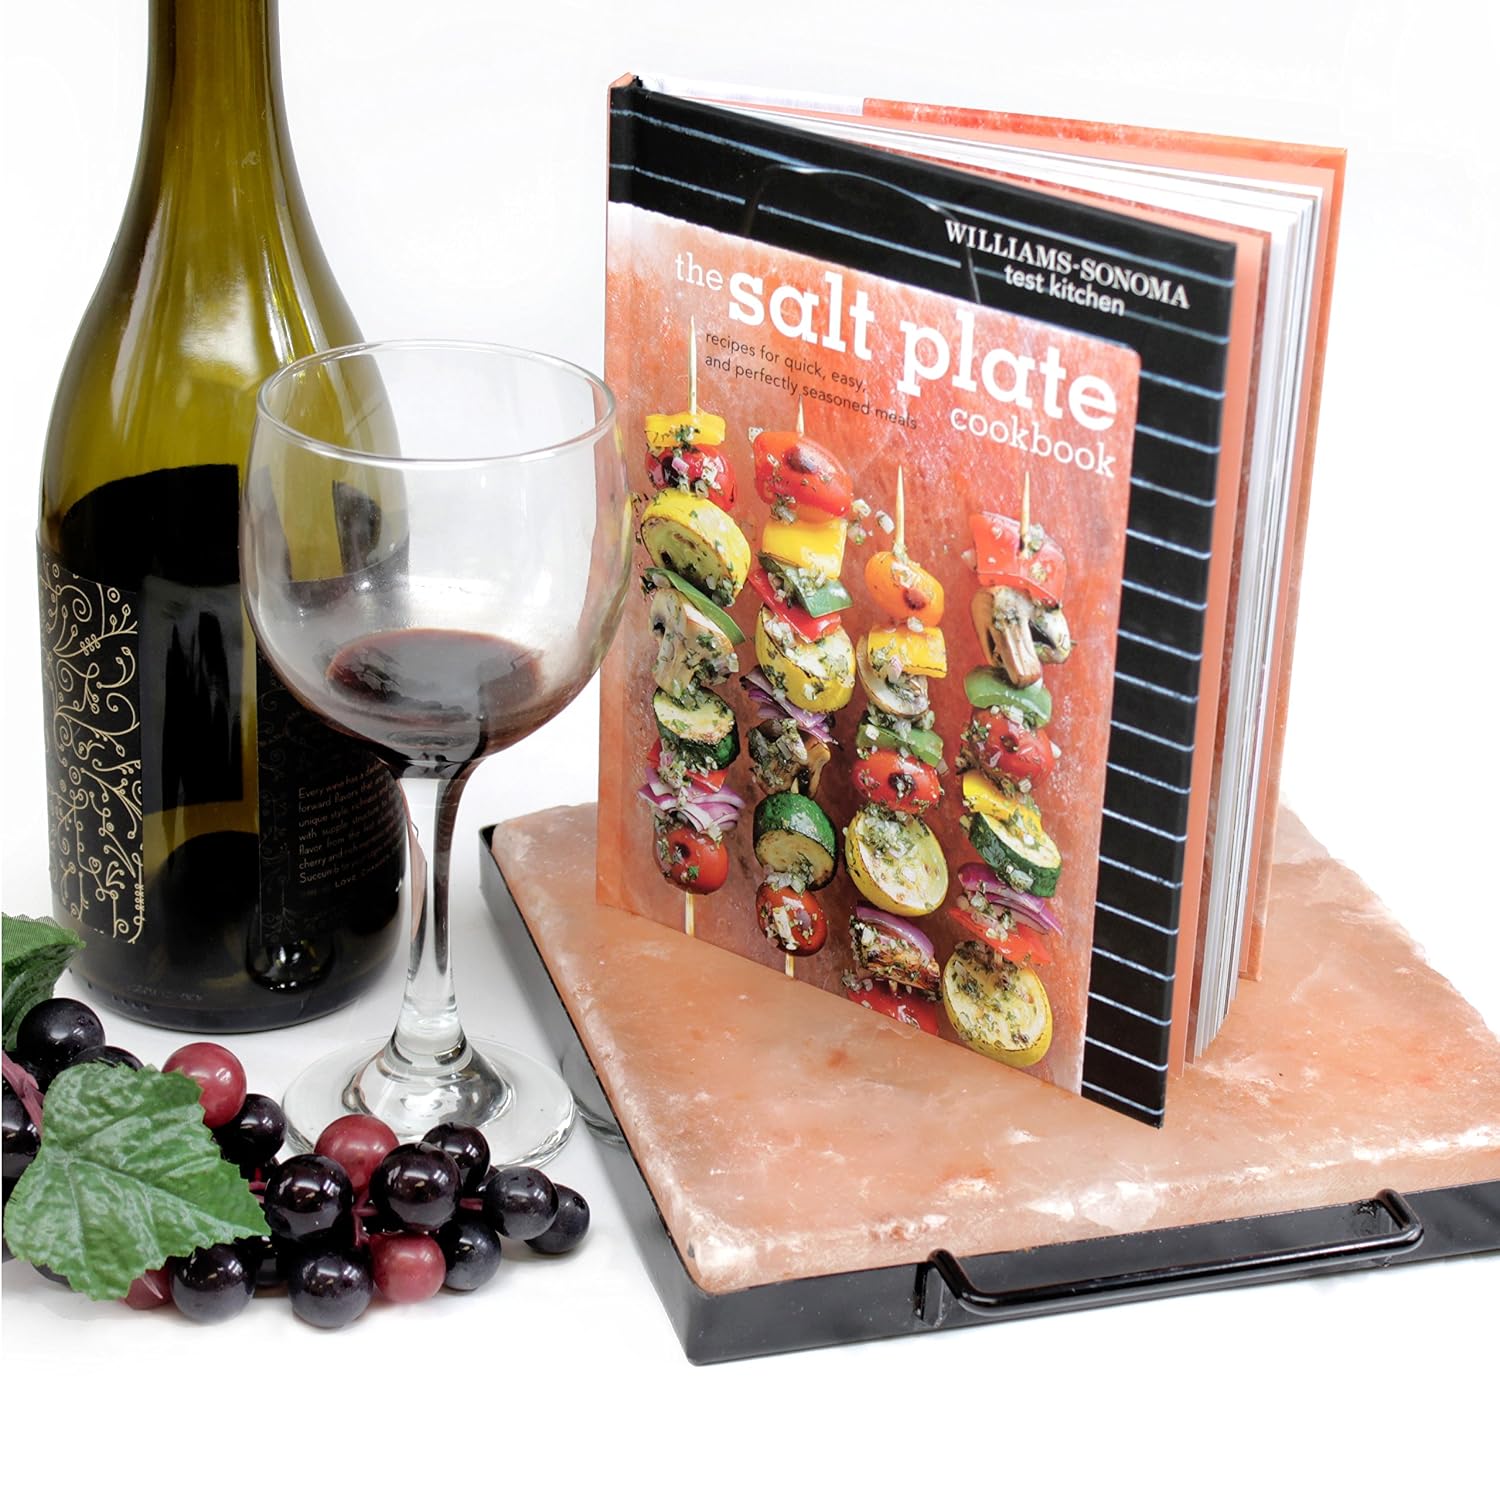
We all can use a little bit more flavor in life!  This Himalayan Salt Plate is so much fun to use and add so much flavors to your food!  You can cook it on the stove, in the oven, or even on the grill!  You can serve your food directly on the salt plate as well.  It’ll be a nice conversation starter to any party! 


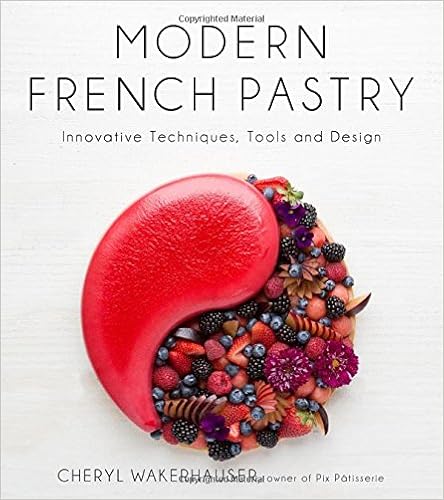
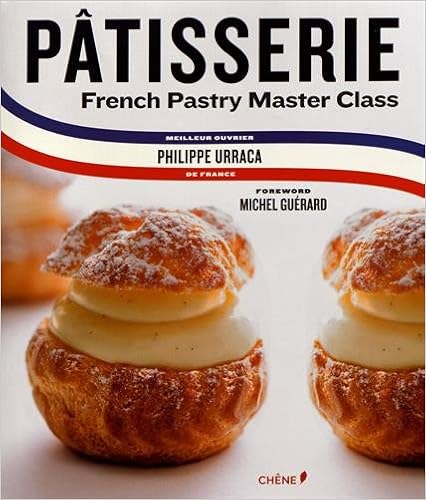
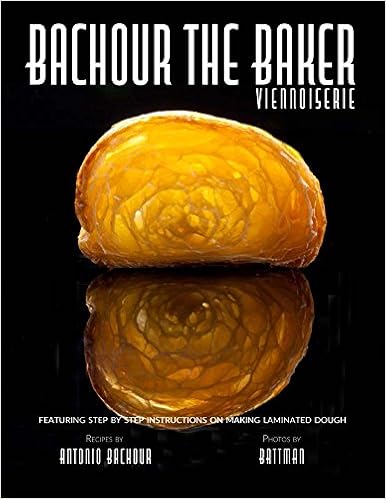
11) French Pastry Cookbooks: Modern French Pastry, Patisserie French Pastry Master Class, Bachour The Baker
For the baker who is ready to take the next challenge!  You’ve got to check out these cook books and cook along!  You might be the lucky taste tester someday when you give these cookbooks as a gift!   Not a bad return, right?


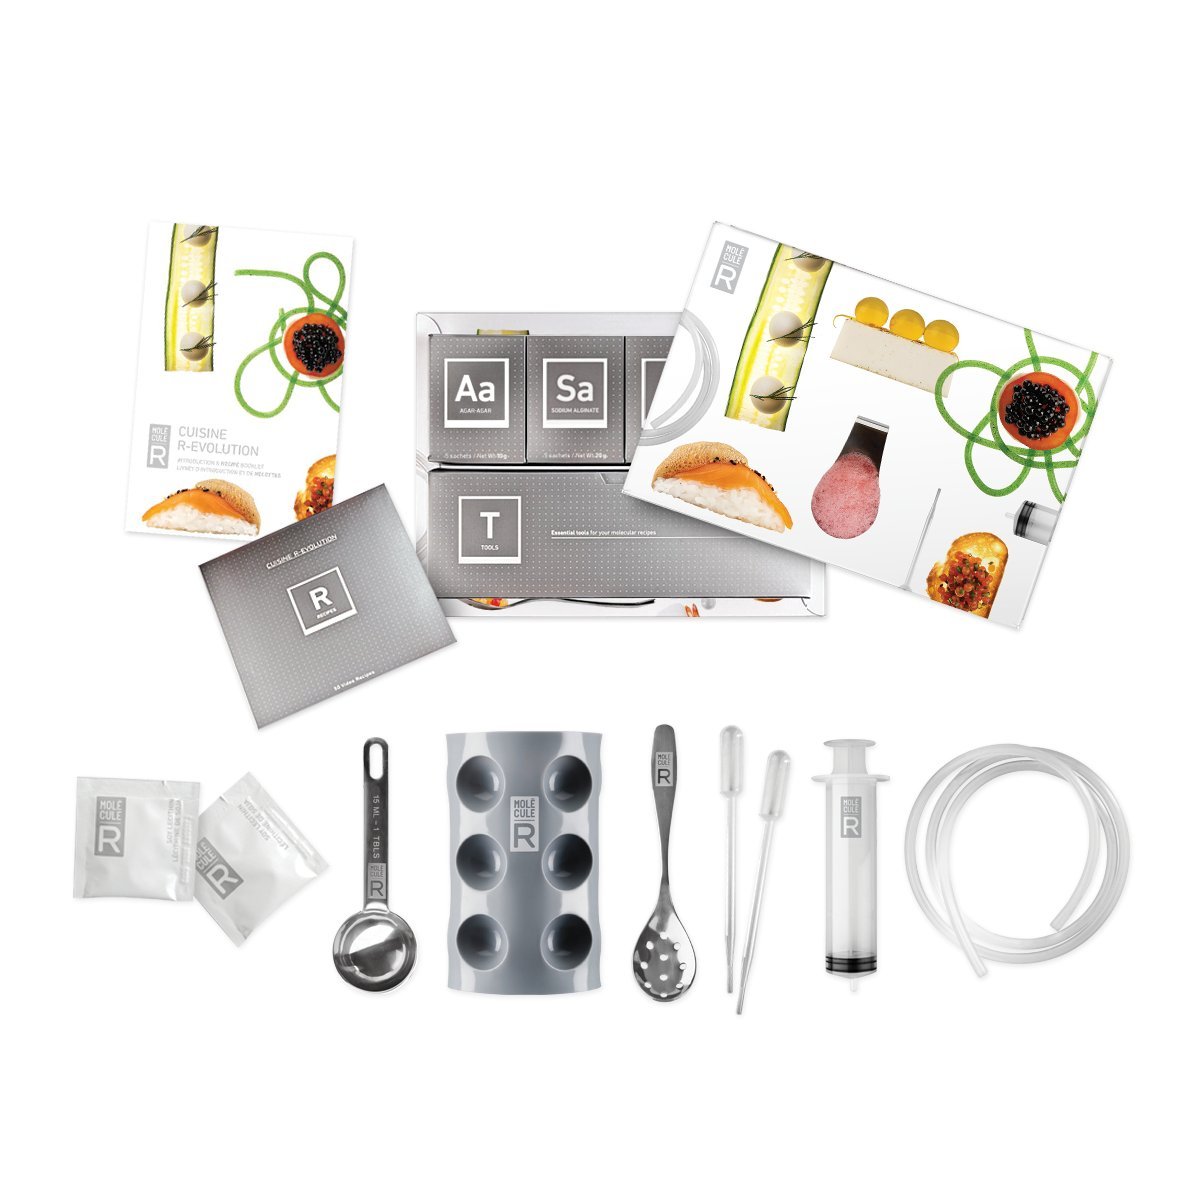
It’s a perfect starter kit for someone who loves science and loves to ask why all the time!  Just kidding!  This is a fun starter kit to get into the molecular cooking.  It sure is fascinating and exciting to get your hands on these fun tools!  A perfect starter kit to cook with the curious kiddos as well.


I love my infrared thermometer and I do use it quite often.  I use it when I temper chocolate, make my ice cream base, or when I make candies (yes, ditch the candy thermometer, that thing is a pain to wash!) or when I want to look cool and professional in the kitchen.  But seriously, it’s so convenience that you won’t go back to the traditional thermometer!


You might not think much of kitchen scales (unlike their cousins, a.k.a. bathroom scales), but it is a must-have in my kitchen.  There are quite a few recipes that calls for weighting ingredients (especially in baking) rather than using measuring cups for precision.  I measure all my ingredients when I make the French Macarons!  When I need to divide batters for multi-layer cakes, or bread dough for buns, having a kitchen scales will make your life much easier.  If you know someone who loves baking or getting serious about baking, this will make a wonderful gift!


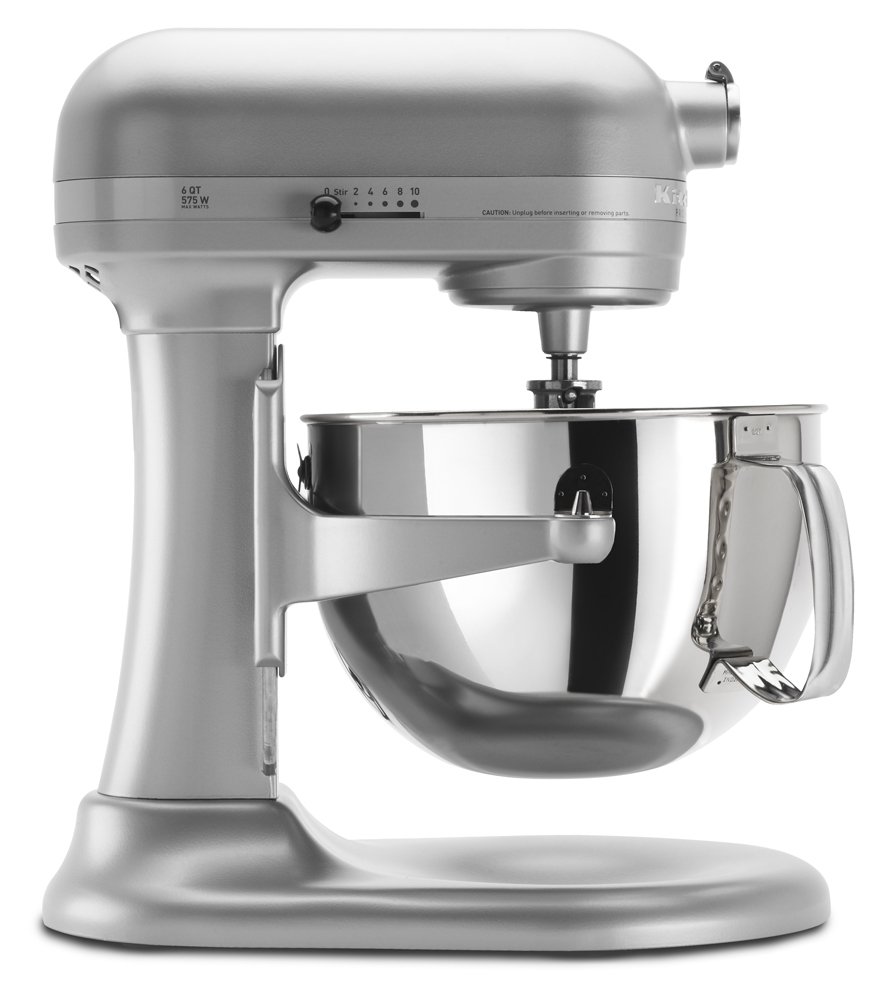
If you want to make someone really happy, you can’t go wrong with gifting a KitchenAid mixer!  I use mine often and they truly last for a long time, definitely worth the investment, in my humble opinion.  Since it’ll probably be sitting/residing on your (or the lucky someone’s) kitchen counter (it’s way too heavy and bulky to store in the pantry or move around), I suggest that you pick a color that matches the rest of your/their kitchen appliances.  I tested out both the Bowl-Lift style (Professional Series) and the Tilt-Head style (Artisan Series), I would definitely recommend the Professional Series.  Not only it is more powerful, it's also more steady compared to the Artisan series.  Best of all, it has a bigger capacity on the Professional Series.        


I hope you enjoy my recommendations.  They are all unique and fun gifts that foodies will enjoy!  Which one is your favorite so far?  Leave me a comment below and happy shopping!


Disclosure: uTry.it is a participant in the Amazon Services LLC Associates Program, an affiliate advertising program designed to provide a means for sites to earn advertising fees by advertising and linking to Amazon.com.

Friday, December 23, 2016

Christmas Breakfast: Santa Claus and Snowman Pancakes


Christmas truly is one of my family’s favorite holidays.  I love that we get to share more precious time and create new memories together.  To make this holiday more magical, try to make these Christmas Breakfast for your Kids.  They will be waking up with big smiles on their faces at the dining table, I guaranteed it!  

Christmas Breakfast: Santa Claus and Snowman Pancakes  http://uTry.it

Check out my video tutorial above and you’ll see how easy it is to prepare this Christmas Breakfast.  Instead of decorating the pancakes yourself, you can also let the Kiddos decorate them on their own.  These festive and adorable Christmas Breakfast are made with Classic Buttermilk Pancakes that are truly scrumptious for any day breakfast.  With just a few more ingredients, such as strawberries, whipped cream, melted chocolate and chocolate chips, you can transform these delicious pancakes into Santa Claus and Snowman Pancakes as a special Christmas Breakfast!

Christmas Breakfast: Santa Claus and Snowman Pancakes  http://uTry.it

Gathering around the dining table to enjoy meals together is definitely one of my favorite things to do with my family.  Happiness is actually quite simply.  I guess the key is to appreciate the little things that we have, and remember not to take it for granted.  How about you?  What are some of your favorite things that you enjoy?  Please share in the comment below.  I can’t wait to hear from you!

Christmas Breakfast: Santa Claus and Snowman Pancakes  http://uTry.it

Wish you all a blessed and magical Christmas!  Stay warm and hope you’ll enjoy a wonderful time with your family and loved ones!  Stay tuned for more delicious recipe next week to ring in the New Year!  Merry Christmas!
 
Christmas Breakfast: Santa Claus and Snowman Pancakes  http://uTry.it


Friday, December 9, 2016

Christmas Fruit Tart with Meyer Lemon Mousse


Will you be hosting a Christmas party this year?  Or, will you be a guest at a friend’s or family member’s house?  Honestly, I enjoy being a guest more than hosting a party at my place.  One reason is that I don’t really have a backyard that is spacious enough to host parties.  The other reason is the tremendous amount effort needed, such as planning, preparation, and cleanup!  As a guest, I’m always happy to bring desserts!  And I’m sure any host would be pleased to see this festive and gorgeous Christmas Fruit Tart with Meyer Lemon Mousse!  But of course, you can still make this pretty fruit tart even if you’re hosting Christmas gatherings at your place.  This tart will make a beautiful centerpiece for sure.
 
How to Make Christmas Fruit Tart filled with Meyer Lemon Mousse (with video tutorial)  http://uTry.it
 
The crust of this tart is a simple cookie crust. It’s crunchy, buttery, and sturdy enough to hold up the Meyer Lemon Mousse fillings.  The Meyer Lemon Mousse filling is super easy to prepare.  It involves some mascarpone whipped cream and Meyer Lemon Curd.  Click here to check out my homemade Meyer Lemon Curd recipe.  If you want a short cut, it’s okay to use a store bought Lemon Curd as well.  After all, it’s the holiday and it’s alright to give yourself a break if you are in a hurry.  But the good news is that you can make the Meyer Lemon Curd ahead of time and they’ll last quite a long time in the fridge.  
 
How to Make Christmas Fruit Tart filled with Meyer Lemon Mousse (with video tutorial)  http://uTry.it
 
I used green grapes, pineapple, pomegranate seeds, and persimmon to garnish this tart.  It’s quite self explanatory in terms of how to arrange the fruit to form the Christmas Tree.  You can be creative and use other fruits that you like.  For example, kiwi slices for the tree, yellow peach for the star, and other small fruit as ornaments as well.  These are the fruits that I have on hand so I used them.  The fresh fruit compliment the Meyer Lemon Mousse perfectly.  It’s refreshing yet decadent at the same time.  The mousse filling has a light, fluffy and silky mouth-feel, which contrast wonderfully with the crunch cookie crust.  The pomegranate seeds add a little pop and tartness in this tart.  And its natural color simply brightens up the whole tart.
 
How to Make Christmas Fruit Tart filled with Meyer Lemon Mousse (with video tutorial)  http://uTry.it
 
It’s such a festive and simple dessert to enjoy!  I hope you’ll give this recipe a try and make it for your holiday celebration.  If you do try the recipe, don’t forget to leave me a message below or email me a picture on how it turned out.  I can’t wait to hear from you!  Stayed tuned for more fun and festive holiday treats next week.  
 
Tools and Ingredients Used:
 
Cooling Racks (Click here for more information)
Baking Sheets 
(Click here for more information)
Organic Vanilla Extract (Click here for more information)
Kerrygold
Butter 
(Click here for more information)
Powdered Sugar (Click here for more information)
Mascarpone Cheese (Click here for more information)
Rectangular Tart Pan (Click here for more information)
Parchment Paper  (Click here for more information)
Horizon Organic Heavy Whipping Cream (Click here for more information)
Pie Weight (Click here for more information)
Pastry Cutter (Click here for more information)
Pastry Bag (Click here for more information)
Wilton Closed Star 2D Pastry Tip (Click here for more information)

 
P.S. Current Giveaway: The Origami Zoo Kit (Open till December 18th, 2016)

 
How to Make Christmas Fruit Tart filled with Meyer Lemon Mousse (with video tutorial)  http://uTry.it


Saturday, December 3, 2016

How to Make Christmas Wreath and Christmas Tree Shortbread Cookies


How’s your holiday shopping so far?  I’m just glad that I did most of mine online these days.  I simply do not like the shopping malls' crowded parking lot nor the long lines at the check outs!  Are you the same?  Or do you think that’s part of the fun from holiday shopping?  Fortunately, some of my holiday gifts are going to be homemade edible gifts and DIYs that don’t require a trip to the mall. Gifts such as these adorable Classic Shortbread Cookies.      

Classic Shortbread Cookies – Christmas Wreath and Christmas Tree  http://uTry.it

As you can see, I decorated them as Christmas Wreaths and Christmas Trees for a more festive look.  I’ll list the cookie cutters and other tools that I used in this recipe, at the bottom of the post for your convenience.  These cookies are quite simple to make and lots of fun to decorate.  My kids had a blast decorating and eating their own creations. 

Classic Shortbread Cookies – Christmas Wreath and Christmas Tree  http://uTry.it

If you haven’t done so, please check out my video tutorial above.  You’ll see how easy it is to make these adorable cookies.  Best of all, I mostly just used chopped pistachios and dried cranberries for the decorations.  I simply love these natural and festive colors for the holidays!  Not to mention, they add some wonderful flavors and textures to the cookies.

Classic Shortbread Cookies – Christmas Wreath and Christmas Tree  http://uTry.it

There are only a few simple ingredients for this classic shortbread cookie recipe.  The key to a wonderful shortbread cookie is the butter!  Therefore, please use the best quality of butter that you can get your hands on.  They make a huge difference in the end product.  Also for your reference, you will find the butter that I trust and love... right below this post.

Classic Shortbread Cookies – Christmas Wreath and Christmas Tree  http://uTry.it

Baking and decorating cookies have became one of our holiday traditions.  We also bake and build gingerbread houses together.  If you haven’t check out my classic gingerbread cookie recipe from last week, simple click here.  You sure don’t want to miss that one!  What are some of your holiday traditions?  Share in the comment session below.  I can’t wait to hear from you. 

Classic Shortbread Cookies – Christmas Wreath and Christmas Tree  http://uTry.it

I have been baking these Classic Shortbread Cookies all year round and not just for the holidays because they are so delicious.  They are super buttery and a little crunchy, thanks to the pistachio nuts on top.  The pistachio adds a nice and subtle nutty flavor to these cookies.  Definitely a fun treat for holiday and everyday afternoon tea.  I hope you’ll give this recipe a try soon and add it to your holiday baking list.  Stay tuned for more festive holiday treats next week!  

Classic Shortbread Cookies – Christmas Wreath and Christmas Tree  http://uTry.it


Tools and Ingredients Used:
Scalloped Edges Round Cookie Cutter Set (Click here for more information)
Holiday Mini Cookie Cutter Set (
Click here for more information)
Star Shaped Sprinkles
(Click here for more information)
Silver Dragees (
Click here for more information)
Candy Cane Sprinkles (
Click here for more information)
Red Heart Sprinkle for Bowtie (
Click here for more information)
Multi Color Dragees as Ornamens (
Click here for more information)
Wilton #2 Small Round Piping Tip for Icing (
Click here for more information)
Silpat (
Click here for more information)
Cooling Racks (
Click here for more information)
Baking Sheets
(Click here for more information)
Food Decorating Tongs/Tweezers (
Click here for more information)
Meringue Powder (
Click here for more information)
Organic Vanilla Extract (
Click here for more information)
Kerrygold Butter (
Click here for more information)
Pistachios (
Click here for more information)
Dried Cranberries (
Click here for more information)
Powdered Sugar (
Click here for more information)

Current Giveaways:
1) Perfect Gift Wrapping Ideas Craft Book and Wrapping Paper (Open till December 4th, 2016)

2) Origami Zoo Kit (Open till December 18th, 2016)


Friday, November 25, 2016

Classic Gingerbread Cookies–Decorated 3 Ways


How was your Thanksgiving celebration yesterday?  Hope you all had a wonderful and blessed time with your family and friends.  As we put the left over roasted turkey into the fridge, it’s also time to take the Christmas tree and ornaments out from the storage!  Okay, maybe not exactly at the same time, but you know what I mean!  We’re moving on to the next holiday, Christmas! It’s definitely one of my favorite holidays of the year!

How to Make Classic Gingerbread Cookies–Decorated 3 Ways   http://uTry.it

To put you into the holiday mood, let me share with you these festive and adorable Classic Gingerbread Cookies!   I decorated them in three different ways while using the same cookie dough as the base.  As I was baking these cookies, the house smelled like a little bakery shop!  The pungent and earthy spices in these cookies are amazing.  The deep and rich aroma of the molasses is undeniable in these gingerbread cookies!  The wonderful aromas and flavors of spices simply reminded me of the wonderful time of Christmas! 

How to Make Classic Gingerbread Cookies–Decorated 3 Ways   http://uTry.it

I certainly felt that Christmas came early this year!  My Little Girl and I spent a fun afternoon decorating these cookies together!  It’s simply therapeutic to sit back, pipe out icing, and decorate these cuties with sprinkles (okay, maybe a little cookie tasting in between as well)!  It was amazing to see the creativity shown on My Little Girl’s cookies.   

How to Make Classic Gingerbread Cookies–Decorated 3 Ways   http://uTry.it

A few months ago, I shared these Home Sweet Home 3D Sugar Cookie with you for Valentine’s Day.  They were just as much fun to make and I used the same cookie cutter for these Mini Gingerbread House Cookies (see picture above).  This time, I used some edible star sprinkles on the roof, silver dragees for the door frame, and peppermint candy canes sprinkles to decorate the walls of the house.  It was so whimsical that I felt like a little fairy sprinkling pixie dust!  I’ll list the tools and ingredients that I used at the bottom of this post for your convenience. 

How to Make Classic Gingerbread Cookies–Decorated 3 Ways   http://uTry.it

Of course, we've got to have the classic Gingerbread Man...and his family as well!  How can we not have them!?  I had 2 different sizes of gingerbread man cookie cutters and I’ll list the different bake times on all different cutters in the recipe below for your convenience.

How to Make Classic Gingerbread Cookies–Decorated 3 Ways   http://uTry.it

Last but not least, Rudolph the Red-Nosed Reindeer!  They are definitely my favorites!  And guess what, you don’t need a separate cookie cutter for them!  Take a closer look, they are the little gingerbread man flipped up side down.  Watch the video tutorial above to see how I  made them.  These are just way too cute!  With all these three different decorated cookies, they sure looked like a winter wonderland in my house. 

How to Make Classic Gingerbread Cookies–Decorated 3 Ways   http://uTry.it

I hope you enjoy today's recipe and tutorial.  Stayed tuned for more fun recipe and tutorial next week.  If you haven’t entered the Perfect Gift Wrapping Ideas Craft Book giveaway yet, there’s still time to do so.  You sure don’t want to miss it!  Until next time, have a wonderful Friends and Family Friday!       


Tools and Ingredients Used:

3D Gingerbread House Cookie Cutter
(Click here for more information)

Gingerbread Man Cookie Cutter Set (Click here for more information)
Silver Dragees
(Click here for more information)

Candy Cane Sprinkles
(Click here for more information)

Pink Pearl Sprinkle for Cheeks
(Click here for more information)

Red Heart Sprinkle for Bow-tie
(Click here for more information)

Red Pearl Dragees For nose
(Click here for more information)

Wilton #2 Small Round Piping Tip for Icing
(Click here for more information)

Silpat
(Click here for more information)
Cooling Racks
(Click here for more information)
Baking Sheets
(Click here for more information)
Food Decorating Tongs/Tweezers
(Click here for more information)
Ground Cinnamon
(Click here for more information)

Organic Ground Ginger
(Click here for more information)
Organic Ground Cloves
(Click here for more information)

Organic Unsulphured Molasses
(Click here for more information)

Kerrygold Salted Butter
(Click here for more information)

Organic Vanilla Extract
(Click here for more information)
Candied Coated Chocolate (Click here for more information)


Classic Gingerbread Cookies:
3 cups all-purpose flour
1/2 teaspoon baking soda
1/4 teaspoon baking powder
4 ounces (1 stick) salted butter, room temperature
1/2 cup dark-brown sugar, packed
2 teaspoons ground ginger
2 teaspoons ground cinnamon
3/4 teaspoons ground cloves
1 large egg
1/2 cup unsulfured molasses

In a large bowl, sift together flour, baking soda, and baking powder. Set aside.

In the bowl of a stand mixer fitted with the paddle attachment, cream butter and sugar until light and fluffy. Mix in spices, the egg, and molasses.

Turn mixer to low speed and add the flour mixture, until just combined. Divide dough in half, shape each one into a disk, and wrap with plastic wrap. Chill for 1 hour.

Preheat oven to 350 F degrees. Line baking sheets with Silpats. Lightly dust flour on a clean surface and roll the dough into 1/8-inch thick.

Stamp out gingerbread man or gingerbread house shapes with cookie cutters. Transfer to prepared baking sheets. Bake until crisp and slightly golden on the bottom. I baked the small gingerbread man ones (1 1/2 x 2-inch) for 10 minutes; the gingerbread house pieces for 12 minutes, and the medium/large gingerbread man ones (2 2/4 x 3 ½-inch) for 15 minutes. Let cookies cool on wire racks.

Decorate with royal icing (Recipe Followed) and have fun!
 
Royal Icing Recipe:
2 cups powdered sugar
1 1/2 tablespoons meringue powder
1/4 cup warm water
1/4 teaspoon vanilla extract

In a large mixing bowl, whisk all ingredients together until well incorporated and no lumps. Place in small piping bag with a small round tip to decorate your cookies.
 
 
How to Make Classic Gingerbread Cookies–Decorated 3 Ways   http://uTry.it