
My Kids and I adore Fortune Cookies! They are crisp and unique shaped cookies with a piece of paper, a "fortune", or words of wisdom, tucked inside. Fortune cookies are often served as a dessert or a little sweet treat after meals in Chinese restaurants in the United States. However, you won’t find them in China nor Hong Kong! Isn't it interesting? No matter what, these are some fun cookies to eat, and to make. Today, I’ll show you how to make them, step by step with pictures and a video tutorial!

There are only a few simple ingredients in these cookies. But I guaranteed that you’ll be amazed how good they taste. These are definitely the most delicious Fortune Cookies I've ever eaten, and my Kids totally agreed. They said these are way better than the ones we get at the Chinese restaurants. Of course, that’s because these homemade ones are freshly made with real and quality ingredients!

Part of the fun and excitement of eating Fortune Cookies is the process of cracking one open and find out what fortune you get! The Kids and I had so much fun writing the “Paper Fortunes” together. I wrote some well wishes and blessings mainly used for Chinese New Year as well (this year, CNY falls on February 19th). I’m sure anyone would be pleased to receive some of these Fortune Cookies for the celebration.

Ready to see how to make these adorable cookies? Follow me to the kitchen!
1) Using parchment paper and edible Candy Decorating Pens, prepare 24 “Paper Fortunes”.
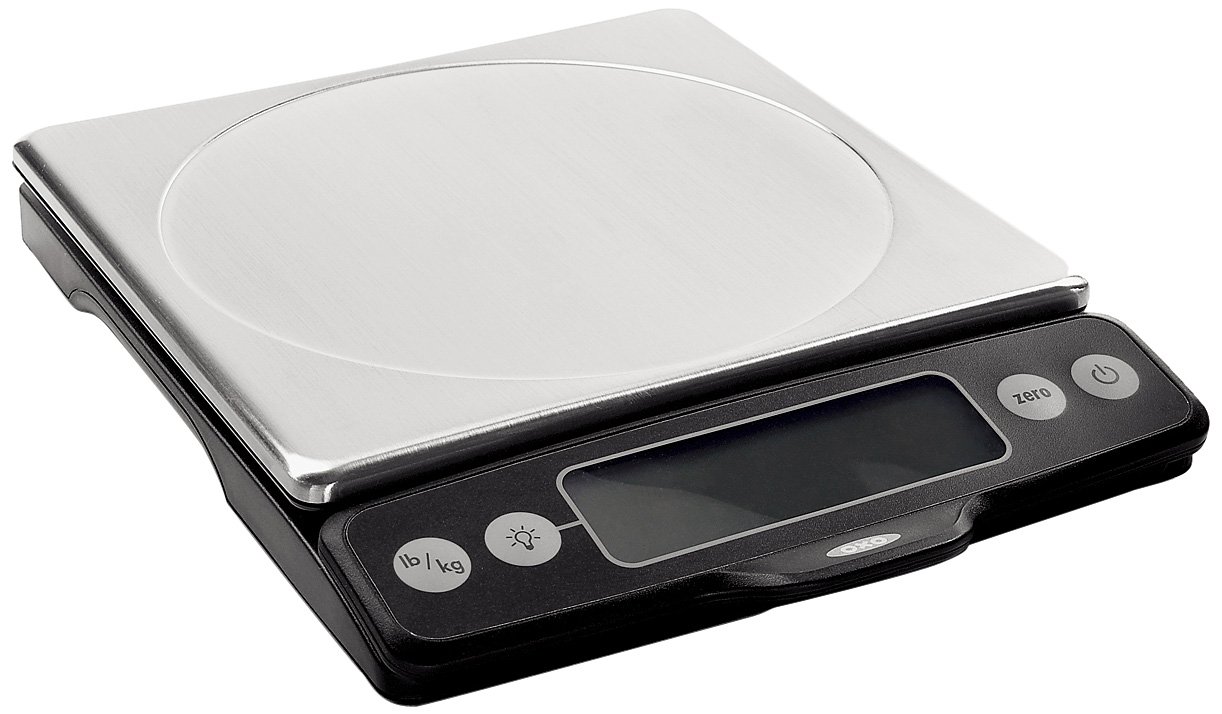
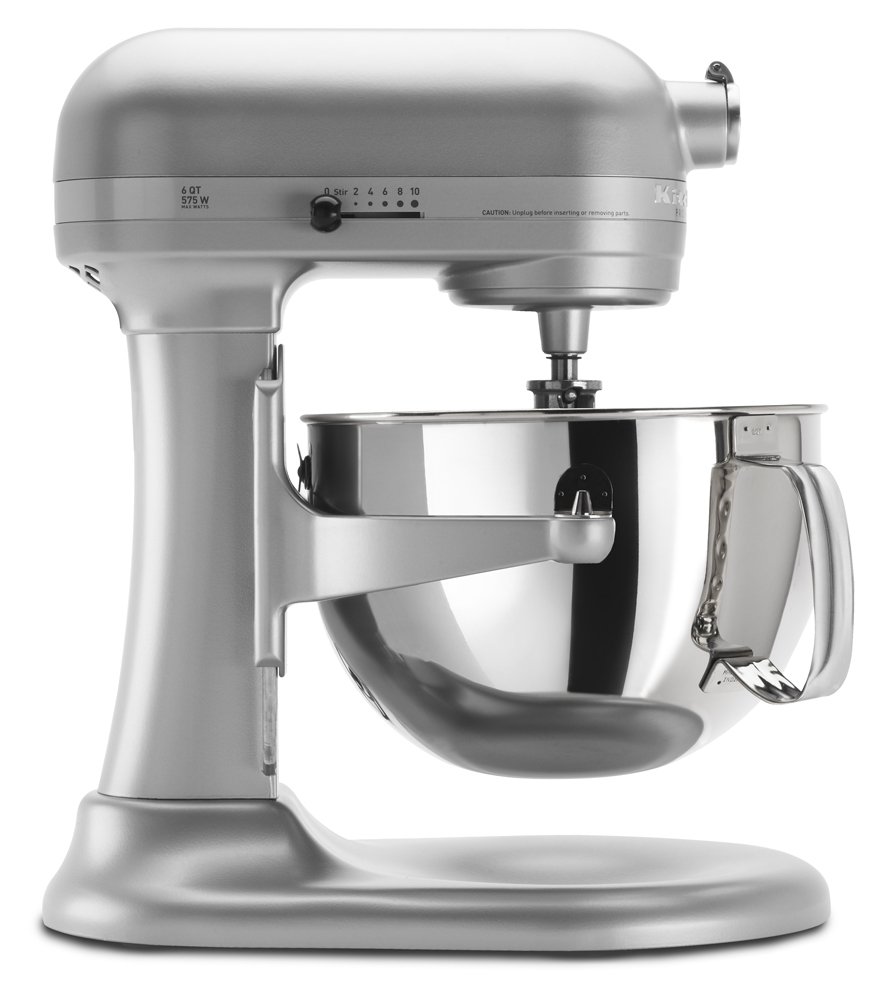
2) Preheat oven to 325 degree F. Line a baking sheet with Silpat, or non-stick baking mat. In a medium mixing bowl, whisk together sugar and egg whites until sugar dissolved, about one to two minutes.
3) Add kosher salt, vanilla extract, almond extract and heavy cream, whisk until well incorporated.

4) Then, whisk in flour, until just combined. Then, add the melted butter and whisk until batter is smooth and incorporated.
5) Place one heaping teaspoon of batter onto prepared baking sheet. With the back of a spoon, spread batter into a 4-inch circle in an even layer.
6) Alternately, you can use a 4-inch circle template and a spatula to spread the batter. Leave a couple of inches spacing between the batter. I usually make 3 cookies on each baking sheet.

7) Bake until the edges of the cookies are golden brown, about 8 to 10 minutes. Rotate the baking pan half way through baking to ensure even heat distribution.
Remove baking sheet from oven onto a wiring rack and work as quickly as possible. Be careful, the baking sheet and cookies are hot. With a small spatula, I use a silicone one for cookies, lift the cookie from the baking mat. Place a piece of the fortune paper in the center of the cookie. Fold the cookie in half and slightly pinch the edges with your left hand to form a loose semicircle.
8) With your right thumb and middle-finger, gently pull the "corners" of cookie together while using your index finger, pushing the cookie in the middle to form the fortune cookie.
9) The shaping should takes less than 10 seconds. Once the cookie hardens, it's impossible to shape it. That is why I only make 3 cookies per baking sheet. Place the shaped cookie in the muffin pan to hold its shape while cooling. Repeat the shaping process with the rest of the baked cookies. Repeat until the batter is used up. To speed up the process, staggering 2 sheets of cookies by 4 minutes. That gives you enough time to shape the cookies. Store cookies at room temperature in an air tight container for up to one week. Enjoy!

Here’s the video tutorial on how to make these Fortune Cookies. After watching the video, please spend a split second to click 'like' if you find it helpful!
I hope you like today’s post, recipe and video tutorial. If you like my video, don't forget to subscribe to my YouTube channel. Other than making these Fortune Cookies for Chinese New Year, I think they are super cute if you write the paper fortunes for your Valentine’s, too.
What are your favorite Asian treats? Is there another recipe you would like to see the tutorial in a video? Leave a message in the comment below and let me know. I would love to include more video tutorials and How-To's in the future.
 Tools and Props used in this post:
Wilton Candy Decorating Pens
Tools and Props used in this post:
Wilton Candy Decorating Pens (
Click here for more information)
Silpat Non-Stick Baking Mat (
click here for more information)
Calphalon Baking Sheet Pans (
Click here for more information)
Ateco Offset Spatula (
Click here for more information)
Cookie Spatula (
Click here for more information)
Circle Template (
Click here for more information)
Muffin Pan (
Click here for more information)


